How to Onboard as a WireMe Broker: A Step-by-Step Guide

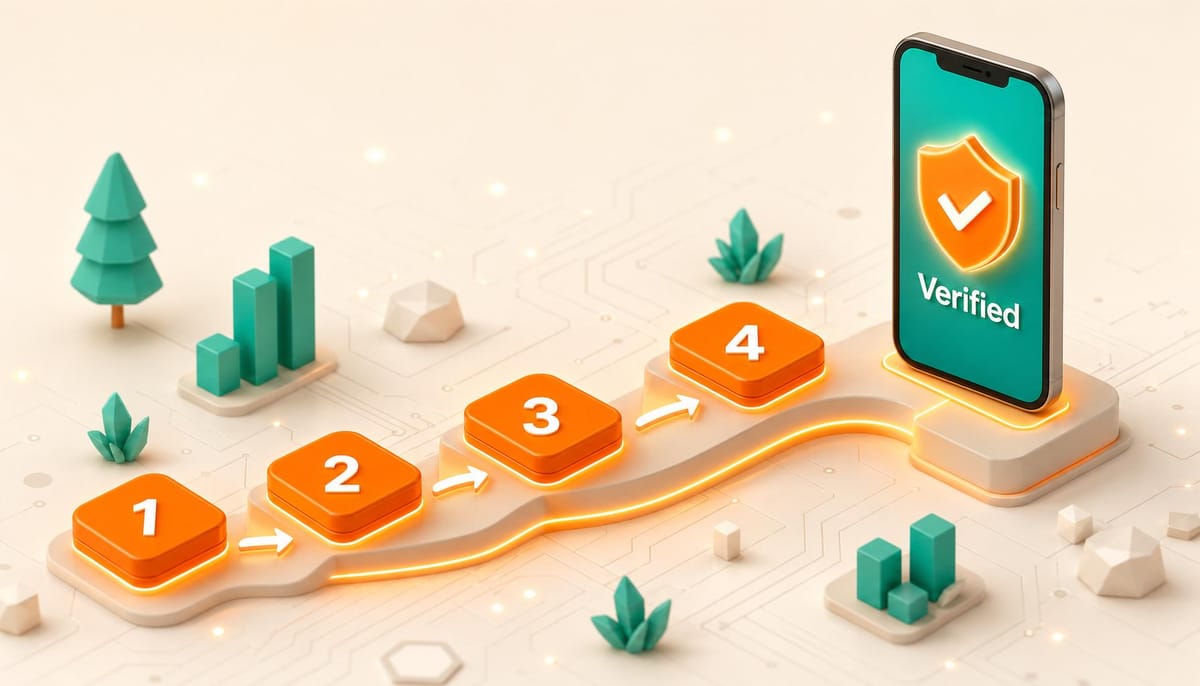
Becoming a WireMe broker takes about five minutes. You'll create an account, set up a wallet that only you control, add your payout details, and verify your identity.
The video below walks through the whole flow in under a minute. If you'd rather read, keep scrolling.
The broker onboarding process
After completing the steps in the video, see Step 5 below to submit your application so you can be approved as a broker.
Before you start
Have these ready and you won't have to stop halfway:
- The email address you want to trade under. Use one you check daily — this is where order notifications go.
- Your M-PESA number. This is the number users will send to and receive from, so it needs to be a line you actually control.
- Your national ID or passport. You'll photograph it during verification. Make sure it's not expired.
- Good lighting. Sounds minor. It's the number one reason verification gets rejected.
Step 1: Create your account
Head to the WireMe app and choose how you want to sign in.
Sign in with Google is the fastest route — one tap, and you're through. Nothing is posted to your Google account and WireMe never sees your Google password.
Or use email. Enter your address and we'll send you a six-digit code. Type it in, and your email is verified. If the code doesn't arrive within a minute, check your spam folder before requesting a new one.
Either way, you land in the same place. Both sign-in methods are functionally equivalent.
Step 2: Create your non-custodial wallet
This is the step that makes WireMe different from every other place you've moved crypto, so it's worth understanding what's happening.
When you create a wallet on WireMe, the keys belong to you. WireMe cannot move your funds, cannot freeze your balance, and cannot lose your money in a hack of our servers — because we never hold it. Your capital sits in your wallet, and it only moves when you sign a transaction or when escrow releases it under rules that are written into a smart contract, not into a company policy.
The trade-off is that securing your wallet is now genuinely your job. You have two ways to do it:
Option A: Secure with a passkey (recommended)
A passkey uses the biometrics already built into your phone — Face ID, Touch ID, or your fingerprint sensor. There's nothing to remember and nothing to write down. Tap to approve, and your device does the rest.
This is the option we recommend for almost everyone. It's faster to use day to day, and it's the harder of the two for anyone else to get past.
Option B: Secure with a password
If your device doesn't support biometrics, or you'd rather not use them, you can secure the wallet with a password instead.
Choose something long and unique — not a password you already use elsewhere, and not one built from your birthday, your ID number, or your phone number. Store it in a password manager if you can.
Read this twice: WireMe cannot reset this password for you. There's no "forgot password" link that recovers your wallet, because we don't hold the key that would make that possible. That's the point of non-custodial. Lose the password, lose the wallet.
Step 3: Fill in your details
Now we collect the small amount of information the marketplace actually needs to function.
- Full name — must match the ID you'll upload in the next step, exactly. If your ID reads "Peter Kamau Njoroge," don't enter "Peter Njoroge."
- Username — how you'll appear to users browsing the broker list. Pick something clean and professional. This is your storefront.
- M-PESA number — the line that will send and receive fiat on your trades. Double-check every digit.
When you've filled everything in, save your details. You'll then be asked to lock them in.
Locking is deliberate. Once your details are locked, they become the record your identity verification is checked against, which means they can't be casually edited afterwards. Take thirty seconds to reread the screen before you confirm — particularly the name and the M-PESA number.
Step 4: Complete Tier 3 verification
Every WireMe user goes through identity verification. Brokers go through the most thorough level, Tier 3, because you're handling other people's liquidity. Users trade with brokers who are verified, so this is what earns you the flow.
Tier 3 is document verification. Two parts:
1. Photograph your ID. You'll capture the front and back of your national ID, passport, or alien ID. Lay it flat on a dark surface, avoid glare, and make sure all four corners are inside the frame and the text is readable.
2. Take a selfie. This is a liveness check that confirms the person holding the ID is the person in it. Face a window or a light source, take off hats and sunglasses, and follow the on-screen prompts.
Verification is usually confirmed within a few minutes. If something fails, you'll be told which part failed and can retry — a blurry photo or inadequate lighting is far more common than an actual rejection.
Step 5: Submit your broker application
Verification gets your account live on WireMe, but broker status itself is a separate, manual step. Our team reviews every applicant before you're added to the marketplace to ensure that only trusted brokers can operate on WireMe.
Once Tier 3 is complete, send us a quick note so we can add you:
Include your registered email your account is under. It's the fastest way for us to match your application to your verified account. Most brokers hear back within a business day.
What happens after you're verified
Once you are approved as a broker, you'll be able to:
- Fund your wallet with USDC, USDT, or ETH
- Post your rates and compete for order flow
- Accept orders, with funds held in smart-contract escrow until both sides are satisfied
- Settle to and from M-PESA on your own terms
Escrow protects you as much as it protects the user. The stablecoin is locked before the fiat leg begins, and it releases against on-chain conditions — not against anybody's goodwill.
Common snags
The email code never arrived. Check spam, then request a new code. Codes expire, so use the most recent one.
Verification keeps failing. Nine times out of ten it's lighting or focus. Move next to a window, wipe your camera lens, and make sure the ID is flat rather than held in your hand.
My name doesn't match my ID. Reach out to support before locking your details rather than after — it's a much shorter conversation.
I want to change my M-PESA number. Contact support. Because this number is tied to settlement, changes are handled manually and deliberately.
Ready to start?
The whole thing takes about five minutes and you only do it once. Sign up, secure your wallet, verify, and start competing for flow.
Questions? Reach the team at support@wireme.io or WhatsApp